Mounting a dart board is an essential task for any darts enthusiast, and getting it right ensures an enjoyable and safe gaming experience. In this guide, we’ll walk you through the process of mounting a dart board step-by-step, covering location, height, and the tools you’ll need for a perfect setup.
Choosing the Ideal Location
Before mounting your dart board, consider the following factors to select the perfect spot:
- Ensure there’s enough space for a throwing distance of at least 7 feet 9.25 inches (2.37 meters) from the board’s face.
- Pick a well-lit area to improve visibility and accuracy.
- Avoid high-traffic areas to minimize the risk of injuries and distractions.
- Consider adding a protective surround or backboard to prevent damage to walls and stray darts.
Required Tools and Materials
Gather the following tools and materials before you begin mounting your dart board:
- Dart board and mounting bracket (usually included with the board)
- Measuring tape or ruler
- Level
- Pencil or marker
- Drill, drill bits, and screwdriver
- Wall anchors and screws (if not provided with the dart board)
Step-by-Step Guide to Mounting a Dart Board
Follow these steps to securely mount your dart board:
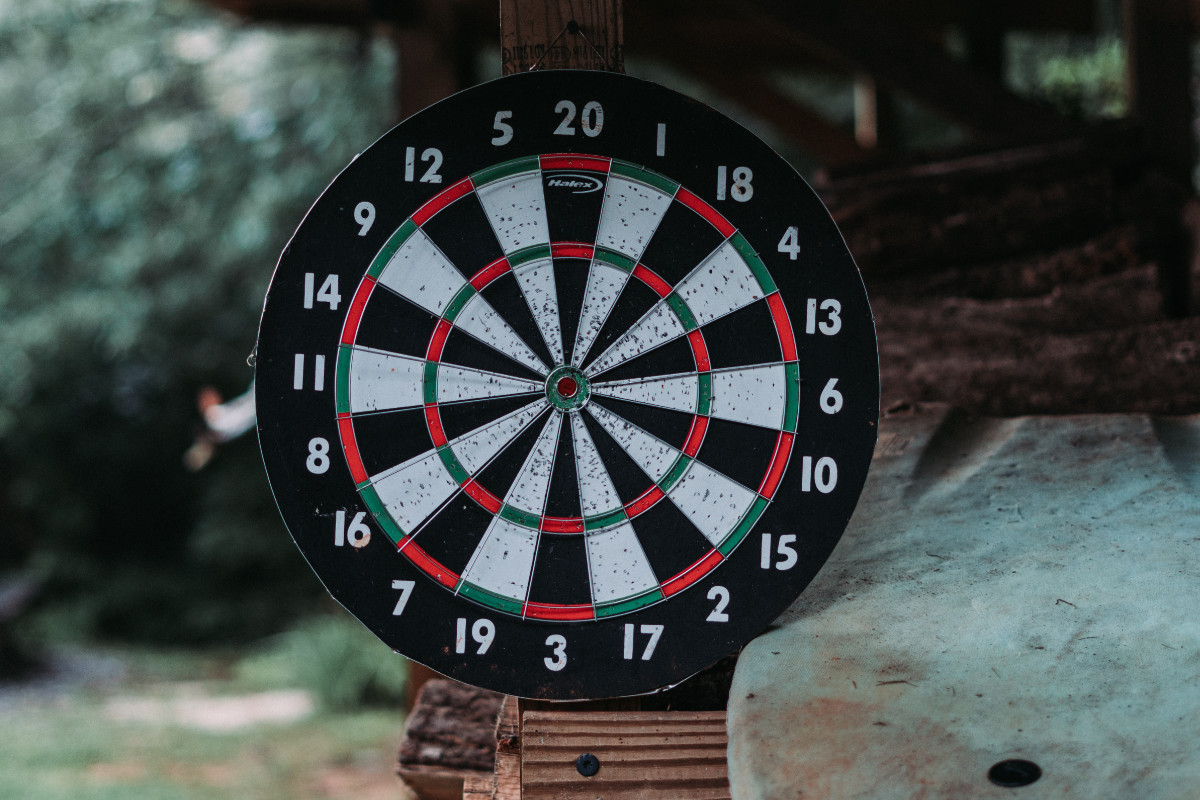
- Measure the correct height: The standard height for a dart board is 5 feet 8 inches (1.73 meters) from the floor to the center of the bullseye. Use a measuring tape to mark this height on the wall.
- Attach the mounting bracket: Position the mounting bracket on the wall at the marked height, ensuring it’s level. Mark the screw holes with a pencil, then drill pilot holes and insert wall anchors if necessary. Secure the bracket to the wall with screws.
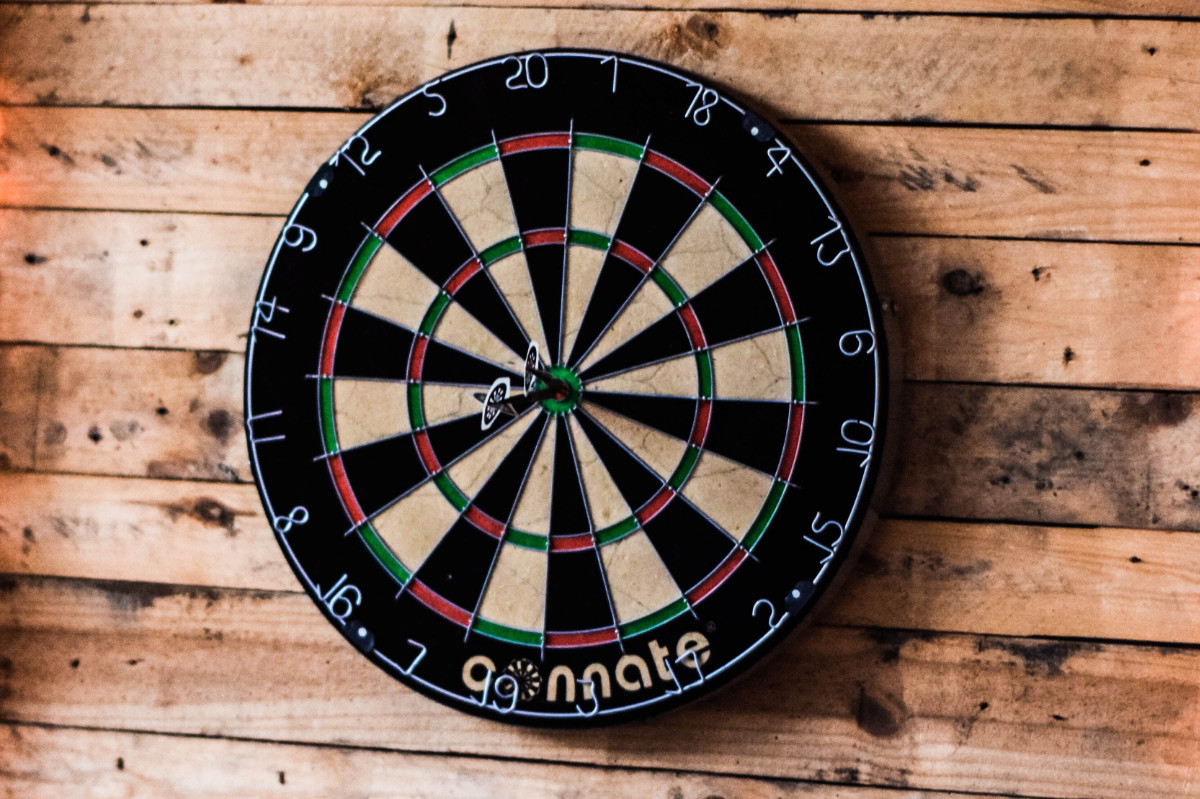
- Install the dart board: Attach the dart board to the mounting bracket by aligning the corresponding holes or slots on the back of the board. Gently press the board onto the bracket until it’s firmly in place.
- Check for levelness: Use a level to confirm that the dart board is hanging straight. Adjust as needed to ensure accurate gameplay.
- Measure the throwing distance: Measure the required throwing distance (7 feet 9.25 inches/2.37 meters) from the board’s face and mark the floor with tape or a throw line sticker.
Conclusion
Mounting a dart board may seem like a daunting task, but with the right tools, materials, and guidance, you can set up your board like a pro. By following the steps in this guide, you’ll create a safe and enjoyable environment for countless hours of darts fun. Happy throwing!
Maintenance and Safety Tips
Once you’ve successfully mounted your dart board, keep these maintenance and safety tips in mind to ensure the longevity of your board and a secure playing environment:
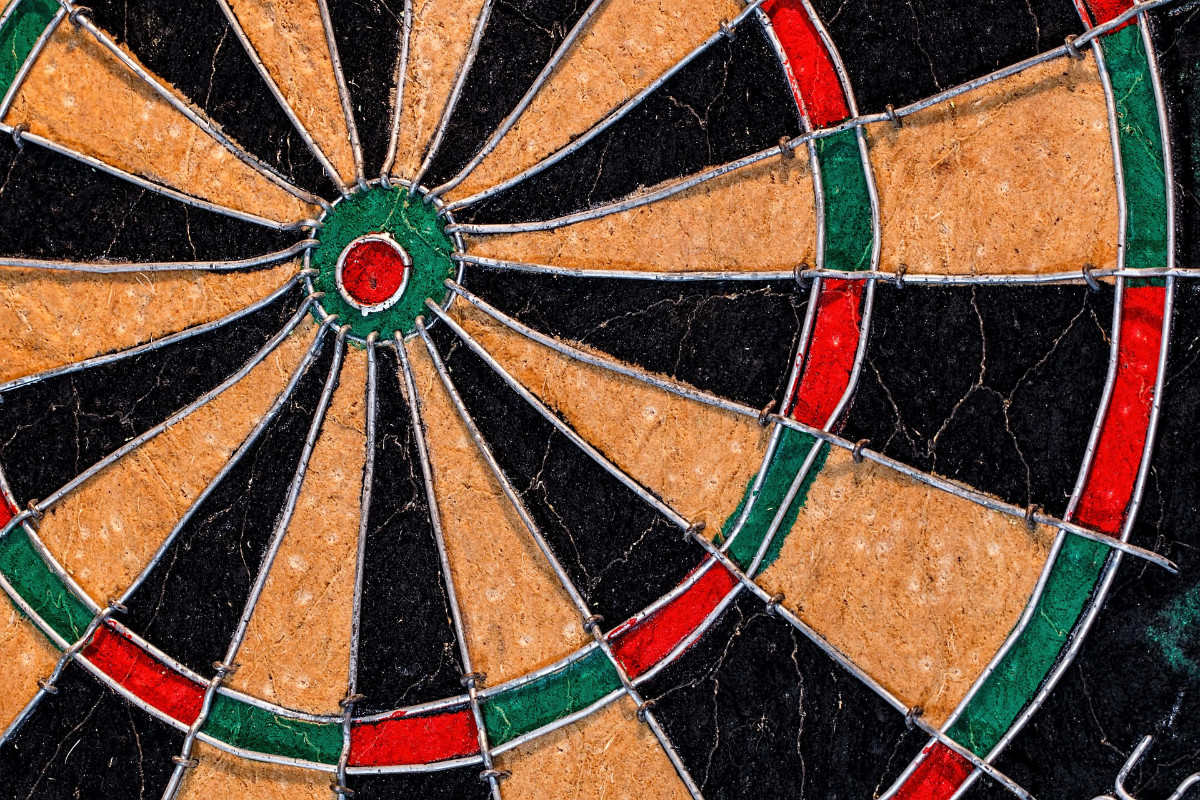
- Rotate the board regularly: To prevent excessive wear on specific areas, rotate the board’s numbered outer ring periodically. This helps distribute wear evenly across the entire board surface.
- Use quality darts: Invest in good-quality darts with well-balanced weights and sharp tips to improve gameplay and minimize damage to the board.
- Keep the board clean and dry: Wipe your dart board with a soft, dry cloth occasionally to remove dust and debris. Avoid using water or cleaning solutions, as moisture can damage the board’s fibers.
- Ensure proper lighting: Adequate lighting is crucial for both accuracy and safety. Consider installing a dedicated dartboard light or positioning the board near an existing light source.
- Establish safety rules: Set clear safety guidelines for players, such as not walking in front of the board during throws, and ensuring only one person retrieves darts at a time.
By following these tips and guidelines, you’ll create a safe, enjoyable, and long-lasting darting experience for you and your fellow players. Now that your board is securely mounted, it’s time to invite your friends, hone your skills, and enjoy the game of darts!